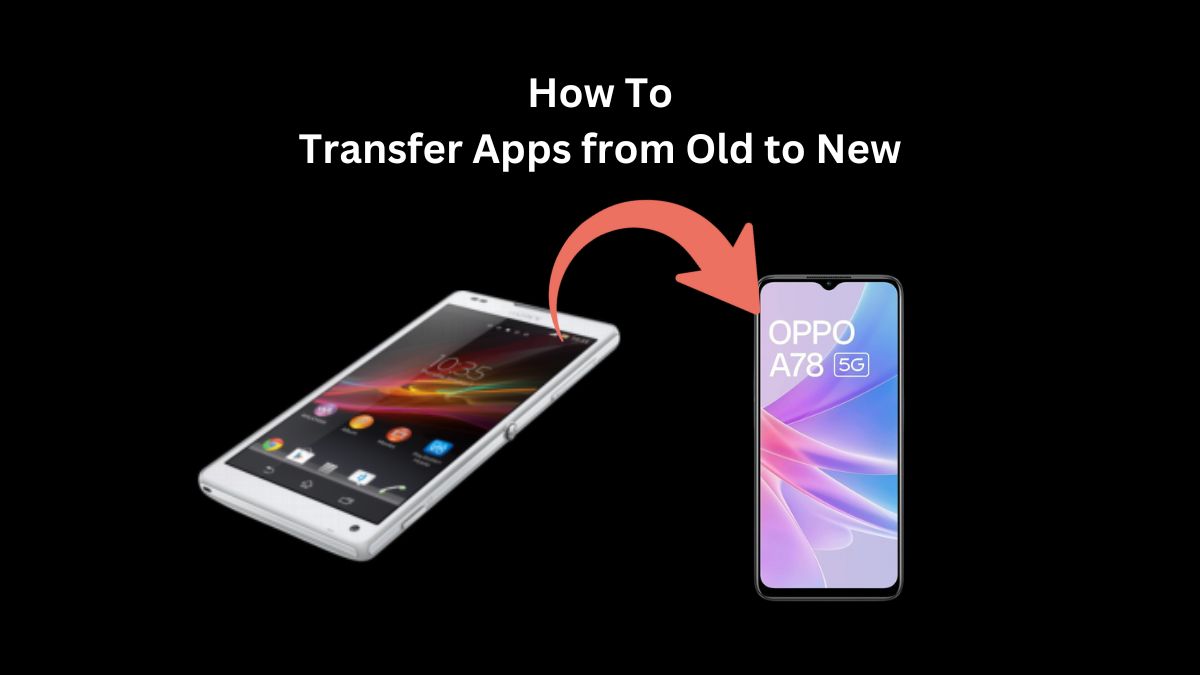
Transfer Apps from one phone to another can be a daunting task, especially when it comes to safeguarding our precious data and apps. For Android users, the prospect of transferring their apps and data to a new Android device can be a source of concern. Naturally, everyone desires a smooth and worry-free transition, ensuring their apps and data seamlessly move from their old phone to the new one without any inconvenience or data loss.
It’s worth noting that Android offers robust integration with cloud services; however, there are still various methods available to effortlessly transfer data from your old phone to a new one. Among the top preferred techniques for transferring apps from one Android device to another are utilizing third-party software, harnessing the power of NFC technology, and leveraging the convenience of Bluetooth connectivity. In this article, you will know how to transfer apps from Android to Android without any hassle and data loss.
How To Transfer Apps from Android to Android?
There are various methods available for transfer apps from your old Android to new Android phone, you may choose one as per your phone’s manufacturer and its version:
Utilizing Android Backup and Restore (Preparing for the Transfer)
In the journey of transferring apps from one Android device to another, proper preparation can make all the difference. One crucial step in this process is using Android’s built-in Backup and Restore feature. In this section, we will explore the significance of backing up your data before proceeding with the app transfer and provide you with step-by-step instructions on how to perform a comprehensive data backup on your old Android device.
Importance of Backing Up Data
Before delving into the intricacies of app transfer, it’s essential to emphasize the importance of data backup. Your Android device contains a treasure trove of personal information, app settings, contacts, photos, and more. Accidents can happen, and ensuring that your data is securely backed up is akin to having an insurance policy for your digital life. Here’s why it matters:
- Data Security: Safeguard your data against unexpected mishaps, such as device loss, theft, or hardware failures.
- Seamless Transition: A comprehensive backup ensures that when you transfer your apps to a new device, your settings, app data, and personal information seamlessly transition with them.
- Peace of Mind: Knowing that your data is safely stored provides peace of mind, allowing you to proceed with the transfer process worry-free.
How to Full Data Backup on Your Old Android Device?
Performing a full data backup on your old Android device is a straightforward process. Android offers built-in functionality to make this task a breeze. Here’s a step-by-step guide:
- Access Backup Settings: Open the “Settings” app on your Android device.
- Navigate to System: Scroll down and tap on “System” or “System & Updates,” depending on your device’s specific interface.
- Select Backup: Tap on “Backup” or “Backup & Restore.”
- Enable Backup: Ensure that the “Back up to Google Drive” or a similar option is turned on. This action will sync your device data with your Google account.
- Choose Backup Account: Select your Google account, and if prompted, sign in or add an account.
- Configure Backup Settings: You can customize which data gets backed up by tapping “Back up now” and selecting the relevant options. This may include app data, call history, contacts, device settings, photos, and more.
- Initiate Backup: Once you’ve configured your preferences, tap “Back up now” to initiate the backup process. The time required will depend on the amount of data to be backed up.
- Verify Backup: After the backup is complete, you can verify it by going to the “Google” section in your device’s settings and selecting “Manage your Google Account” > “Manage storage.”
Also Read : What is End-to-End Encryption and How does it Work
Restore Data to a New Android Phone
Once you’ve taken the crucial step of securing your data on an external server (commonly referred to as the cloud) or a reliable hard disk, you’re all set to embark on the journey of data restoration to your shiny new Android phone. The process offers flexibility whether you’re still in the midst of setting up your new device or have already completed the initial setup.
If you find yourself in the initial setup phase of your new Android phone, consider this your golden opportunity to seamlessly restore all the data from your previous phone, including your cherished apps. However, if your new device is already up and running, and you’re eager to resurrect your data from the backup, fear not. You can achieve this by resetting your new phone to its factory settings and initiating the setup process once again.
Restoring data to a new Android phone is a crucial step when transitioning from an old device. It ensures that your apps, settings, contacts, and personal information seamlessly transfer to your new Android device. Below is a step-by-step guide on how to restore data to a new Android phone:
- Initial Setup:
- Power on your new Android phone and follow the initial setup instructions. Connect it to a Wi-Fi network and sign in with your Google account when prompted.
- Google Account Sync:
- During the setup process, your new Android device will ask if you want to copy apps and data from your old device. Choose the option to copy data from your old device if available.
- If you didn’t have the option during setup or you skipped it, you can still perform a data restore manually.
- Manual Data Restore:
- If you need to manually restore data, go to your new Android phone’s settings.
- Navigate to “System” or “System & Updates,” then select “Backup” or “Backup & Restore.”
- Restore from Google Account:
- Select “Restore data.”
- Choose the Google account that you used to back up your data from your old device.
- Enter the password for the Google account if prompted.
- Select Data to Restore:
- You’ll see a list of available backups associated with your Google account. Select the backup that corresponds to your old device.
- You may have the option to select specific data categories to restore, such as apps, app data, contacts, and settings. Choose the data you want to restore, and then tap “Restore.”
- Wait for the Restore to Complete:
- The data restoration process may take some time, depending on the amount of data being transferred. Ensure that your new device remains connected to Wi-Fi and has sufficient battery life during this process.
- Set Up Additional Preferences:
- After the data restore is complete, your new Android phone will apply the settings, restore apps, and bring back your personal data.
- Follow the on-screen instructions to set up additional preferences like screen lock, fingerprint or face recognition, and other personalized settings.
- Final Verification:
- Once the restoration process is finished, double-check that your apps, contacts, and data are in place on your new Android device.
- You may need to log in to some apps or reconfigure certain settings as per your preferences.
Also Read : What is Google eSignature: Do you know what exactly is it?
Transfer Apps Using Samsung Smart Switch Mobile App
Smart Switch, a valuable utility often found pre-installed on many Samsung devices, plays a pivotal role in simplifying the data transfer process. However, if it’s not readily available on your Samsung device, you can easily acquire it by downloading the Samsung Smart Switch app from either the Google Play Store or Samsung’s proprietary app store. This versatile app serves as your ally in seamlessly transferring data from an Android phone running Android 6.0 Marshmallow or a newer version to your Samsung device.
When it comes to Smart Switch, you have three effective methods at your disposal: the wireless option, the trusty USB cable connection, or the external storage route (utilizing either an SD card or a USB storage device). Each method caters to different preferences and situations, ensuring that the data transfer process aligns with your needs.
Transfer Apps Using Smart Switch With a Wireless Connection
The wireless method stands out as the most straightforward approach. To initiate the transfer of your apps and data wirelessly:
- Launch Smart Switch on your new Samsung phone.
- Select “Receive data” > “Wireless” > “Galaxy/Android.”
- On your old device, open Smart Switch and tap “Send data” > “Wireless.”
- Follow the screen prompts on your new device to complete the transfer effortlessly.
Using Smart Switch With a USB Cable
Should you prefer the reliability of a USB cable, here’s how to proceed:
- Plug in your old phone’s USB cable.
- Connect the cable to a Samsung USB connector.
- Insert the Samsung USB connector into your new Samsung phone.
- On your old phone, launch Smart Switch.
- Follow the on-screen instructions, starting by adjusting the USB setting on your old phone to “Media device (MTP).”
Using Smart Switch With an SD Card or USB Storage
For those opting to utilize external storage, the process involves inserting an SD card or connecting your phone to a USB storage device containing the desired apps. Follow the screen prompts to facilitate the transfer seamlessly.
In addition to these mobile methods, Samsung offers Smart Switch applications for both Windows and Mac platforms. By downloading and launching the desktop app, you can connect your new Samsung phone to your computer and effortlessly follow the on-screen instructions to initiate the transfer of apps and other data, ensuring a comprehensive and efficient transition.
Also Read : How to Fix Notifications Not Showing Up on Android
Transfer Apps Using MobileTrans PC application
If you happen to be using a Samsung Galaxy S7 or a more recent model, you’ll discover that the Smart Switch Mobile app comes pre-installed, ready to simplify your data transfer journey. For those with older devices, the process is equally straightforward – simply head to the Play Store or Samsung App store to download this invaluable tool. This versatile app serves as your trusted companion for seamlessly transferring not only apps but also a plethora of data, ranging from contacts and photos to music, videos, messages, notes, calendars, and much more. It’s compatible with Android (Samsung) smartphones running Marshmallow (6.0) or later, ensuring a wide range of devices can benefit from its capabilities.
Accessing the Smart Switch app on Samsung S7 and later models is a breeze. Navigate to your device’s Settings, then proceed to Account, where you’ll find the Smart Switch option. For those using other Samsung phones, a quick visit to the app drawer will lead you to this indispensable tool.
Now, let’s delve into the ways this app simplifies the process of transferring apps and data between Android devices. The Smart Switch app offers three distinct methods to achieve this:
- Wireless Connection: This method facilitates a seamless transfer process, enabling you to effortlessly share your favorite apps and data without the need for cables or external storage.
- USB Cable: For those who prefer a more direct connection, the Smart Switch app offers the option to use a USB cable. This method ensures a swift and secure transfer of apps and data.
- External Storage: If you have apps and data stored on external storage devices such as an SD card or USB storage, the Smart Switch app caters to this as well, ensuring your data is readily accessible and transferrable.
Also Read : How to Fix Wi-Fi Calling Not Working on Android
Transfer Apps via NFC
NFC, short for Near Field Communication, serves as the technological bridge that fosters wireless communication between two compatible devices, allowing them to seamlessly exchange data. Operating within a compact range of up to 4cm, or sometimes even less, NFC empowers Android devices to share information effortlessly. Moreover, this data-sharing capability isn’t limited to just Android devices; it extends to those equipped with NFC tags, forging a versatile network of interconnected devices.
Before embarking on the journey of transferring apps using NFC, it’s crucial to ascertain that your Android device is equipped with NFC hardware and supports the indispensable Android Beam feature. Android Beam emerges as a valuable asset, facilitating the swift exchange of apps between Android phones and tablets. Here, we outline the steps to transfer apps from one Android device to another through the NFC feature:
Step 1: Verify NFC Support on Your Android Phones First and foremost, you must ensure that both of your Android phones support NFC technology. To do so, follow these steps:
- Open the Settings app on your Android device.
- Navigate to the “Wireless & Networks” section and tap on “More.”
If your device supports NFC, you’ll encounter the “NFC” and “Android Beam” options within this menu.
Step 2: Activate NFC on Both Devices Once you’ve confirmed NFC support (as outlined in Step 1), proceed to enable the “NFC” and “Android Beam” toggles on both of your Android devices. This ensures that the NFC feature is operational and ready for data transfer.
Step 3: Sharing an App from One Android to Another With both devices powered on and the Android Beam feature activated on each, follow these steps to share an app:
- Open the Google Play Store and navigate to the app page you wish to transfer.
- Bring the two Android devices into close proximity, positioning them back to back.
3. Once the NFC connections establish contact, you’ll hear a distinct sound indicating the successful connection. A pop-up screen labeled “touch to beam” will appear.
3. On the sending device, select the item you want to share, and it will display on the receiving device’s screen. Simply tap on it to initiate the installation process.
Also Read : How to Fix a Virus Warning Pop-Up on Android
Transfer Apps via Bluetooth
Another effective method for transferring apps between Android devices involves utilizing the app’s APK file and a Bluetooth connection. APK, short for Android Package Kit, serves as the package file format responsible for the distribution and installation of mobile apps on the Android operating system. By following these steps, you can seamlessly transfer apps from one Android phone to another using an APK extractor via Bluetooth:
Step 1: Download the APK Extractor App Begin by downloading and installing the APK Extractor app from the Play Store on the Android device from which you intend to send the app. If you already have the app installed, ensure that it’s up-to-date, as the latest version is recommended for optimal performance.
Step 2: Initiate App Transfer via APK Extractor After successfully installing the APK Extractor app, launch it on your Android device. Upon opening the app, you’ll be presented with a comprehensive list of the apps residing on your device. Locate the specific app you wish to transfer, and tap on the menu icon adjacent to it. This menu icon will trigger a share option to appear on a pop-up screen.
Step 3: Choose the Sharing Method Tap on the “share” option within the pop-up menu, leading you to a screen with various sharing modes. At this juncture, you can select your preferred sharing method, with Bluetooth being one of the available options. Alternatively, you can explore additional sharing modes to suit your preferences.
Step 4: Establish Bluetooth Connection Upon selecting Bluetooth (or your preferred sharing method), the app will prompt you to access your contact list. This step is essential to identify the recipient device, which may require knowing the recipient’s Bluetooth ID. Locate the recipient’s ID within your Bluetooth list and tap on it to initiate the transfer.
Step 5: Transfer and Installation With the recipient device’s ID selected, the APK Extractor app will proceed to extract the APK file of the chosen app. Once the extraction is complete, the app will be sent to the recipient Android phone via Bluetooth. On the recipient’s end, simply run the APK file and proceed to install the app.


